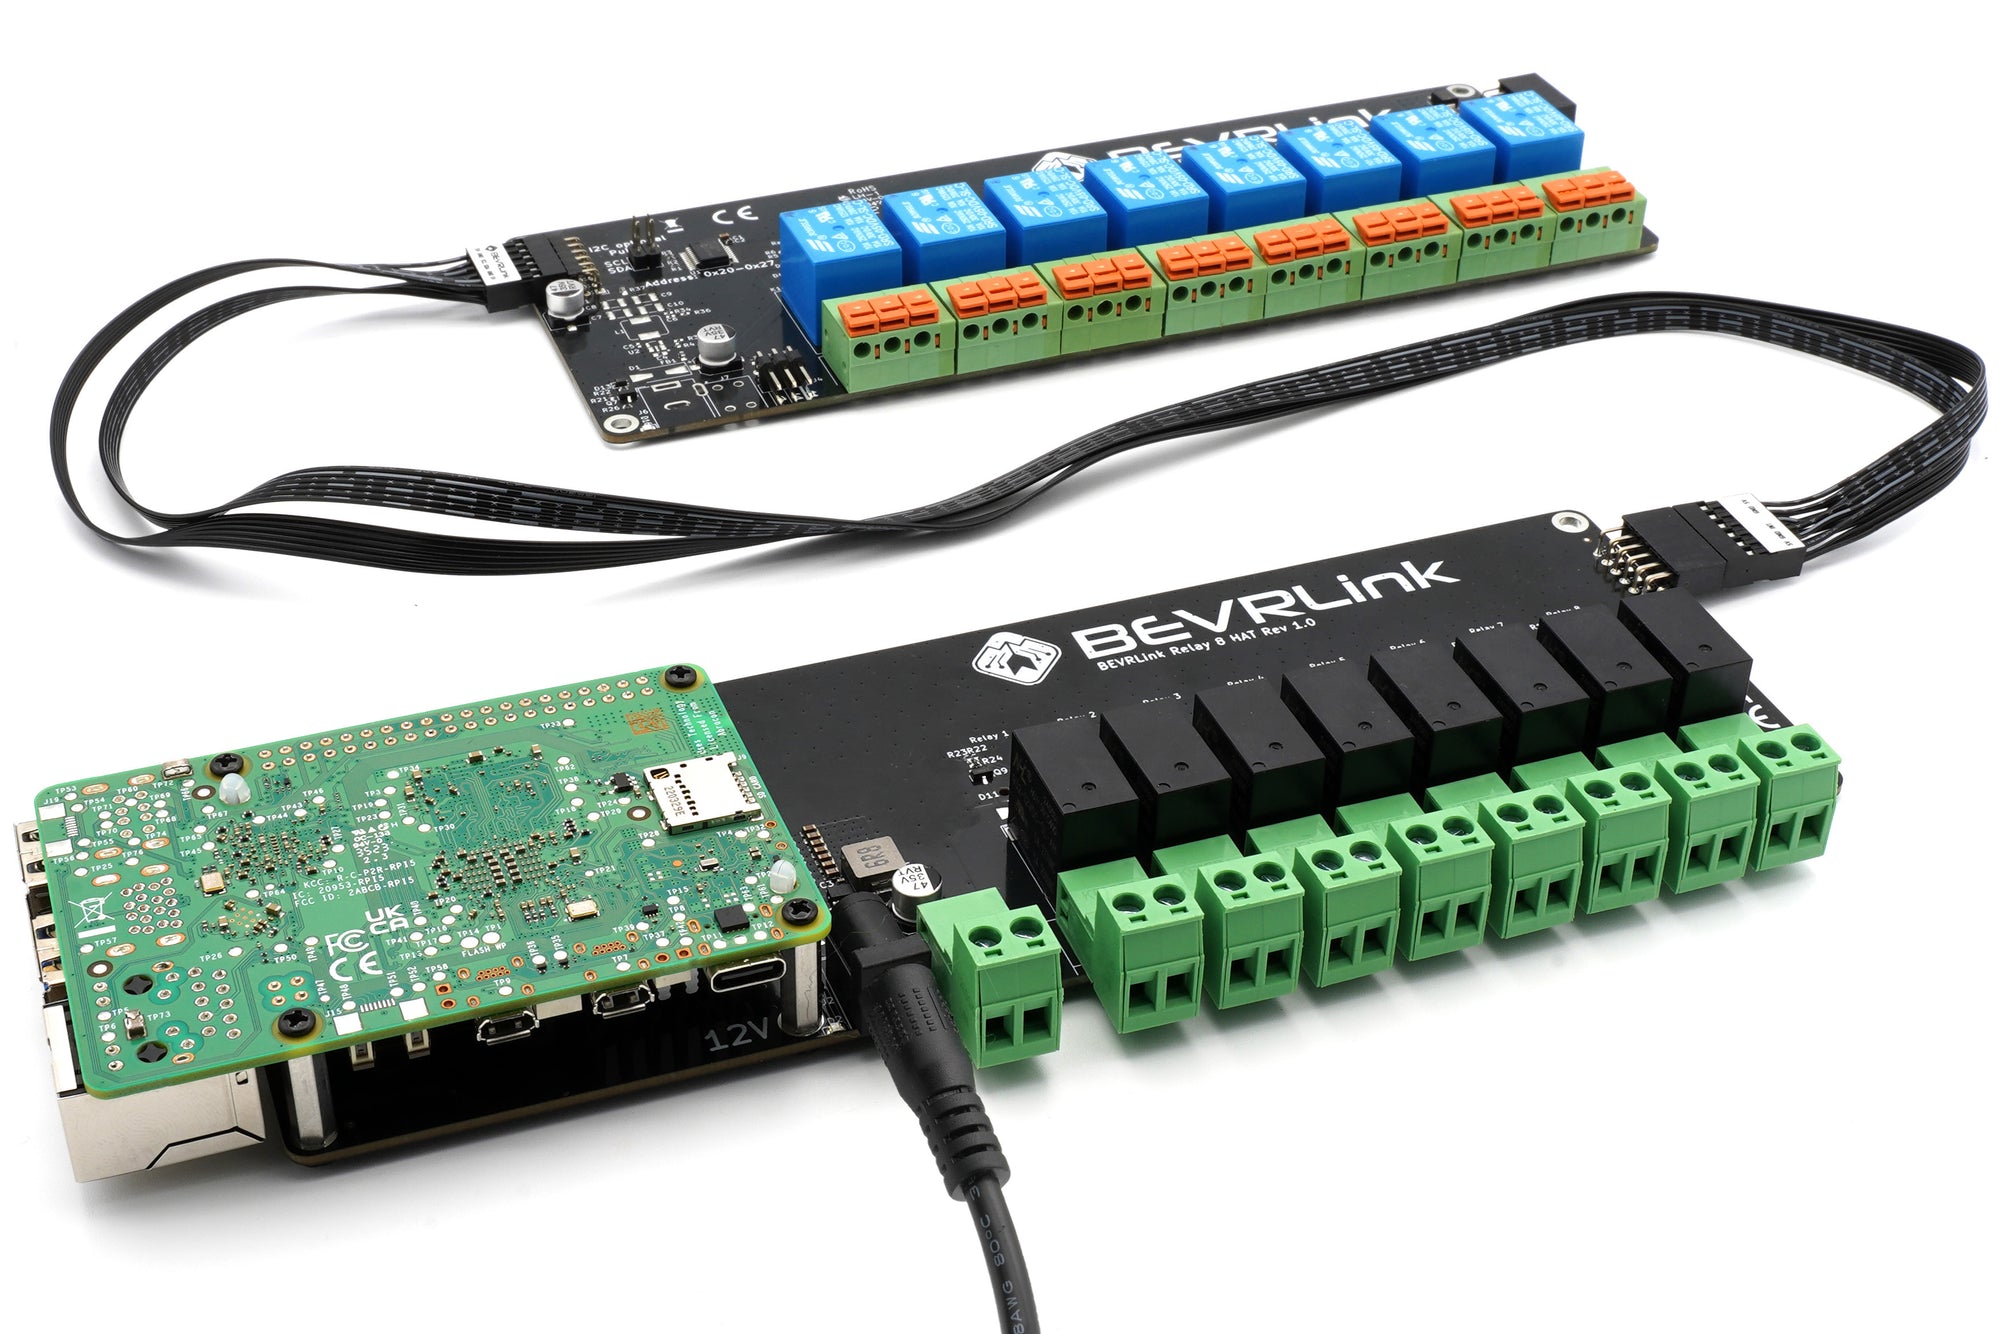
Welcome to the BEVRLink family! If you're a Raspberry Pi enthusiast looking to expand your projects with relay control, our BEVRLink 4/8-Channel Relay HAT is the perfect solution. Designed for seamless integration with your Raspberry Pi, this versatile relay HAT offers robust control and easy setup. In this post, we'll explore the GPIO description of our BEVRLink 4/8-Channel Relay HAT, making it easier for you to get started.
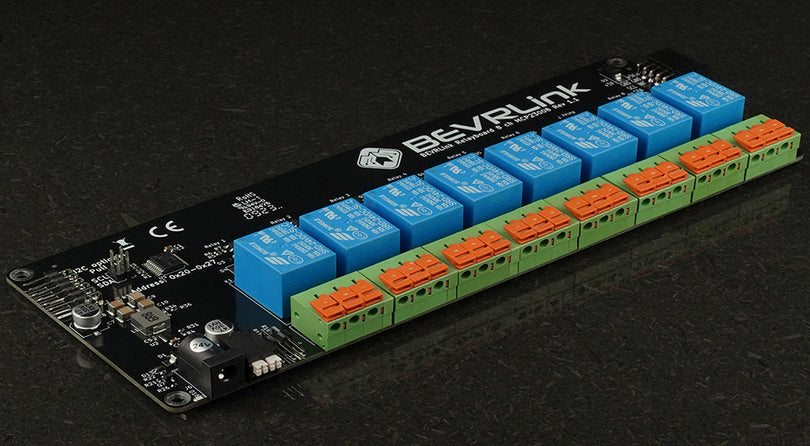
For this tutorial we have connected a Raspberry Pi 5 to the BEVRLink Raspberry Pi 5 8 Channel Relay 12V. With this relay module board you need the BEVRLink Power Supply 12V 2A.
This guide works for BEVRLink Raspberry Pi 5 4 Channel Relay, just omit the relay 5-8 and the status LED from the code. With this relay module you can either power the Raspberry Pi directly or back feed it from a connected BEVRLink relay Module through the Expansion Connector.
Optional for a safe setup we recommend to use case for both the manager and relay boards: BEVRLink Cases
Overview of BEVRLink 4/8-Channel Relay HAT
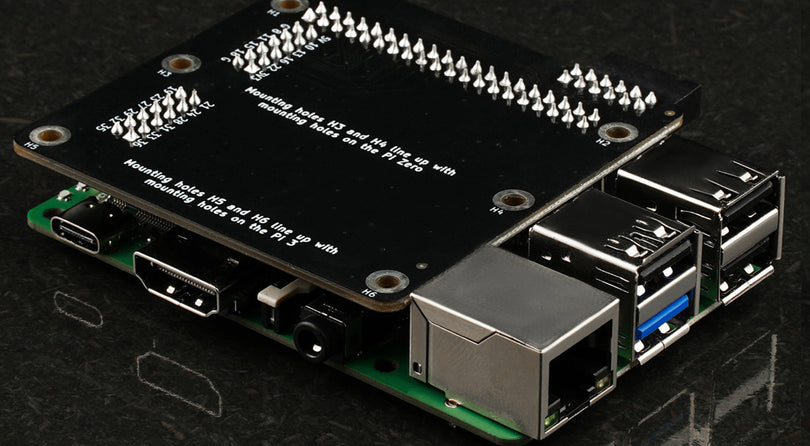
The BEVRLink Relay HAT comes in two configurations: a 4-channel version and an 8-channel version. Both versions are designed to fit perfectly on your Raspberry Pi, giving you the flexibility to control various devices, such as lights, motors, and other electrical equipment, from your Pi. Below is a detailed GPIO description to help you connect and program your relay HAT effectively.
GPIO Pin Mapping
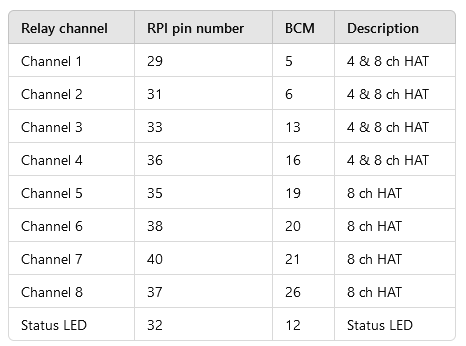
Our BEVRLink Relay HAT uses specific GPIO pins on the Raspberry Pi for control. Here's a comprehensive table detailing the GPIO pin assignments for both the 4-channel and 8-channel configurations:
| Relay Channel | RPI Pin Number | BCM Pin | Description |
|---|---|---|---|
| Channel 1 | 29 | 5 | 4 & 8 ch HAT |
| Channel 2 | 31 | 6 | 4 & 8 ch HAT |
| Channel 3 | 33 | 13 | 4 & 8 ch HAT |
| Channel 4 | 36 | 16 | 4 & 8 ch HAT |
| Channel 5 | 35 | 19 | 8 ch HAT |
| Channel 6 | 38 | 20 | 8 ch HAT |
| Channel 7 | 40 | 21 | 8 ch HAT |
| Channel 8 | 37 | 26 | 8 ch HAT |
| Status LED | 32 | 12 | Status LED |
Understanding the GPIO Table
- Channel 1 to Channel 4: These channels are common to both the 4-channel and 8-channel relay HATs. They are mapped to BCM pins 5, 6, 13, and 16, respectively.
- Channel 5 to Channel 8: These channels are exclusive to the 8-channel relay HAT. They are mapped to BCM pins 19, 20, 21, and 26.
- Status LED: The Status LED is an additional feature mapped to BCM pin 12 (RPi pin 32). It provides a visual indication of the relay HAT's operational status.
Setting Up Your BEVRLink Relay HAT
- Attach the Relay HAT: Carefully align and attach the relay HAT to the GPIO pins on your Raspberry Pi.
- Power Up: Ensure your Raspberry Pi is powered on. The Status LED should light up, indicating the relay HAT is connected properly.
- Install Necessary Libraries: Depending on your programming language, install the required libraries to control the GPIO pins (e.g., RPi.GPIO for Python).
- Write Your Code: Using the GPIO pin mappings provided, write your code to control the relays. For instance, you can use Python to control the relays by setting the GPIO pins high or low.
Example Code Snippet (Python)
Here’s a simple example to get you started with controlling the relays using Python:
# Import the GPIO library
import RPi.GPIO as GPIO
import time

# Set the GPIO mode
GPIO.setmode(GPIO.BCM)

# Define GPIO pins for the relays
relays = [5, 6, 13, 16, 19, 20, 21, 26]

# Set up each relay pin as an output
for relay in relays:
    GPIO.setup(relay, GPIO.OUT)

# Function to activate a relay
def activate_relay(channel):
    GPIO.output(channel, GPIO.HIGH)
    print(f"Relay {channel} activated")

# Function to deactivate a relay
def deactivate_relay(channel):
    GPIO.output(channel, GPIO.LOW)
    print(f"Relay {channel} deactivated")

# Example usage
try:
    while True:
        for relay in relays:
            activate_relay(relay)
            time.sleep(1)
            deactivate_relay(relay)
            time.sleep(1)
except KeyboardInterrupt:
    GPIO.cleanup()
Conclusion
The BEVRLink 4/8-Channel Relay HAT for Raspberry Pi is a powerful addition to your Raspberry Pi projects. With clear GPIO pin mappings and straightforward setup, you can easily control multiple devices with just a few lines of code. Whether you're automating your home, creating a robotics project, or managing an IoT setup, our relay HAT provides the reliability and ease of use you need.
We hope this guide helps you get started with your BEVRLink Relay HAT. If you have any questions or need further assistance, feel free to reach out to our support team. Happy tinkering!
Connecting additional boards
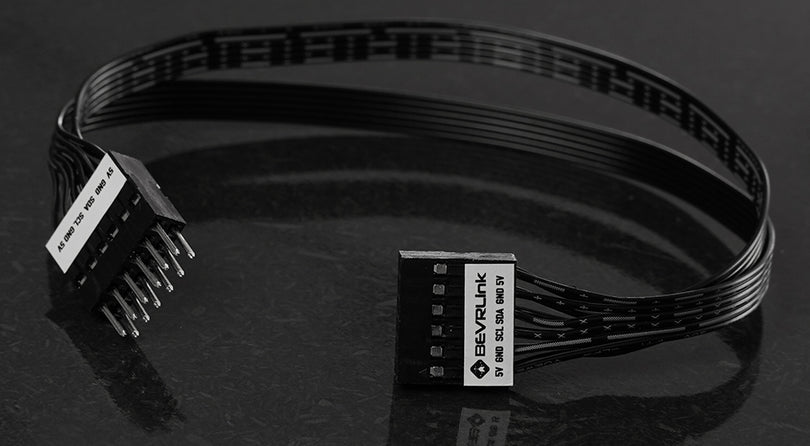
Controlling additional boards is done over I2C and a guide to get started can be found here

