

The example below is only one way how to set up the Relay Module.
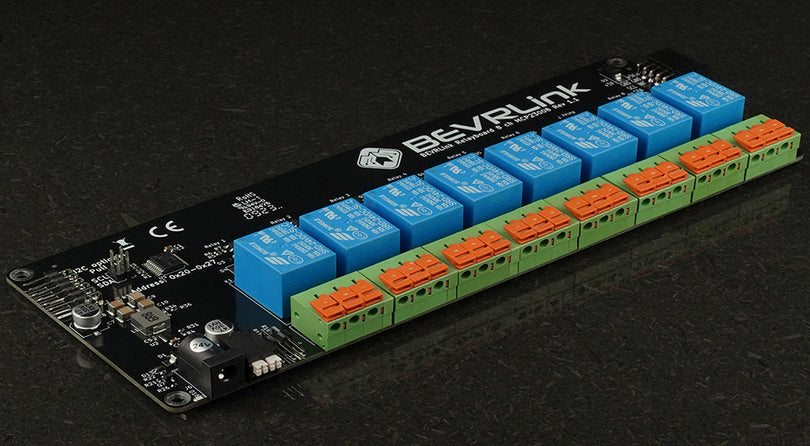
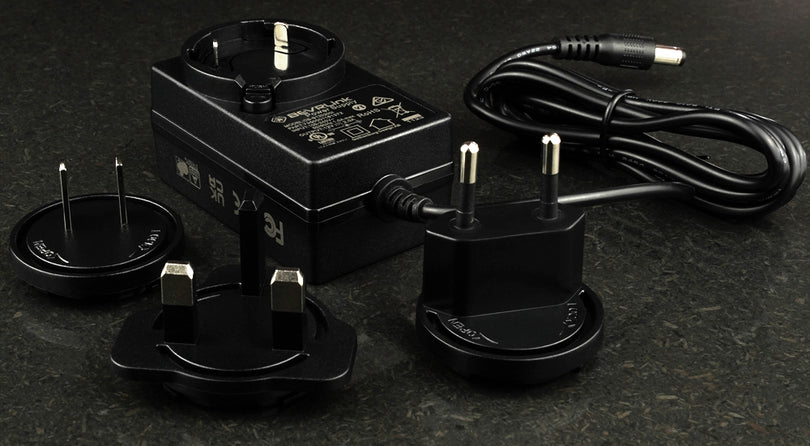
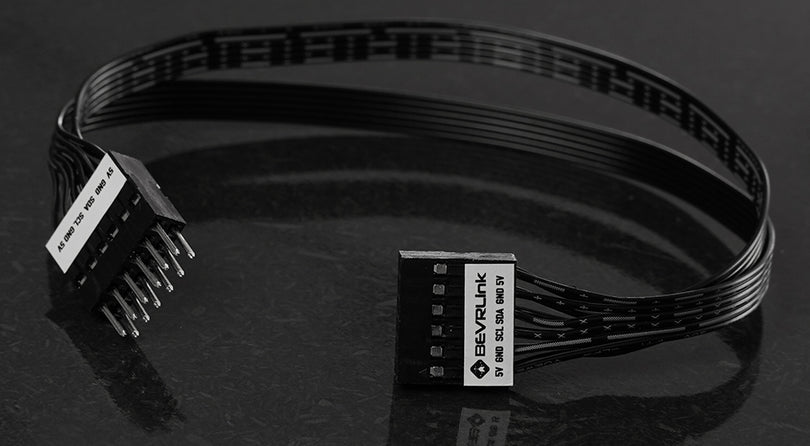
In this examples we have connected a ESP32 to the BEVRLink Manager ESP32 V2 with BEVRLink 4 Channel Relay and 4 manual test buttons 12V. With this relay module board you need the BEVRLink Power Supply 12V 2A.
Optional for a safe setup we recommend to use case for both the manager and relay boards: BEVRLink Cases
Create device in Homeassistant
This assumes that the ESPHome plugin has been installed and configured correctly in homeassistant. ESPHome Installation
1. Go into the ESPHome plugin, create a new device and follow the steps

2. Connect to the device, prepare for first use and connect to wifi

3. Adopt in Home Assistant, follow the popup instructions

4. Prepare the yaml file. Replace wifi and Home Assistant API(needed to connect to home assistant) with the example under the Edit button. API not needed if you just want to use the local web server.
Here the input button, called binary_sensor in the code, has an automation included to control the relay on top of it
relay.yaml
esphome:
  name: bevrlinkesp32

esp32:
  board: nodemcu-32s
  framework:
    type: arduino

# Can be used to access the device without home assistant
web_server:
  port: 80

# Enable logging
logger:

# Enable Home Assistant API
api:

ota:

wifi:
  ssid: "your_SSID"
  password: "your_Password"

  # Enable fallback hotspot (captive portal) in case wifi connection fails
  ap:
    ssid: "Bevrlink Esp32 Fallback Hotspot"
    password: "HXiVVTIy1hrr"

captive_portal:

i2c:
  sda: 21
  scl: 22
  scan: true
  id: bus_a

# The relay, one id for each board with corresponding address
pca9554:
 - id: 'relay4_4_1'
   address: 0x38

# Each relay and its parameter settings
switch:
 - platform: gpio
   name: "R1_1"
   id: 'R1_1'
   pin:
     pca9554: relay4_4_1
     number: 0
     mode:
       output: true
     inverted: false
 - platform: gpio
   name: "R1_2"
   id: 'R1_2'
   pin:
     pca9554: relay4_4_1
     number: 1
     mode:
       output: true
     inverted: false
 - platform: gpio
   name: "R1_3"
   id: 'R1_3'
   pin:
     pca9554: relay4_4_1
     number: 2
     mode:
       output: true
     inverted: false
 - platform: gpio
   name: "R1_4"
   id: 'R1_4'
   pin:
     pca9554: relay4_4_1
     number: 3
     mode:
       output: true
     inverted: false

binary_sensor:
 - platform: gpio
   name: "R1_5"
   pin:
     pca9554: relay4_4_1
     number: 4
     mode:
       input: true
     inverted: true
   on_press:
     then:
       - switch.turn_on: R1_4
   on_release:
     then:
       - switch.turn_off: R1_4

 - platform: gpio
   name: "R1_6"
   pin:
     pca9554: relay4_4_1
     number: 5
     mode:
       input: true
     inverted: true
   on_press:
     then:
       - switch.turn_on: R1_3
   on_release:
     then:
       - switch.turn_off: R1_3

 - platform: gpio
   name: "R1_7"
   pin:
     pca9554: relay4_4_1
     number: 6
     mode:
       input: true
     inverted: true
   on_press:
     then:
       - switch.turn_on: R1_2
   on_release:
     then:
       - switch.turn_off: R1_2

 - platform: gpio
   name: "R1_8"
   pin:
     pca9554: relay4_4_1
     number: 7
     mode:
       input: true
     inverted: true
   on_press:
     then:
       - switch.turn_on: R1_1
   on_release:
     then:
       - switch.turn_off: R1_1
Two options
5a. Use the homeassistant Edit to add the code and compile (won't work on a low power SBC like Raspberry 3B)
5b. Use a PC
Install Python 3 with pip
Open a command terminal
pip install esphome esphome run relay.yaml6a. the device should now be online in the esphome dashboard and it should be auto discovered by home assistant. Check Notification view
6b. Go to http://bevrlinkesp32.local (or your name:) for the device local web server