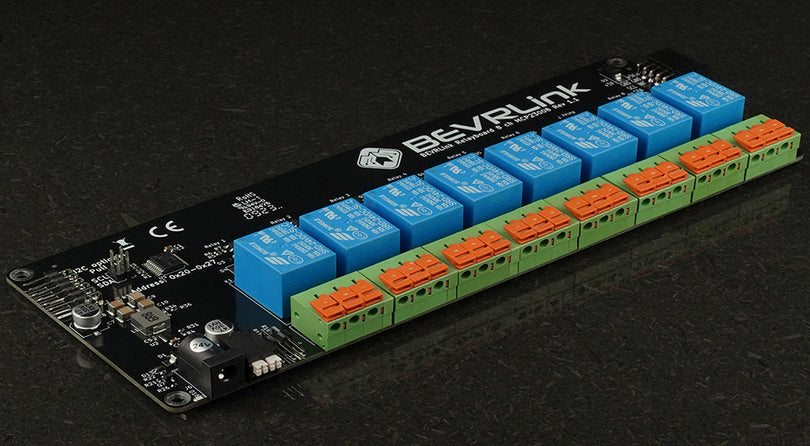
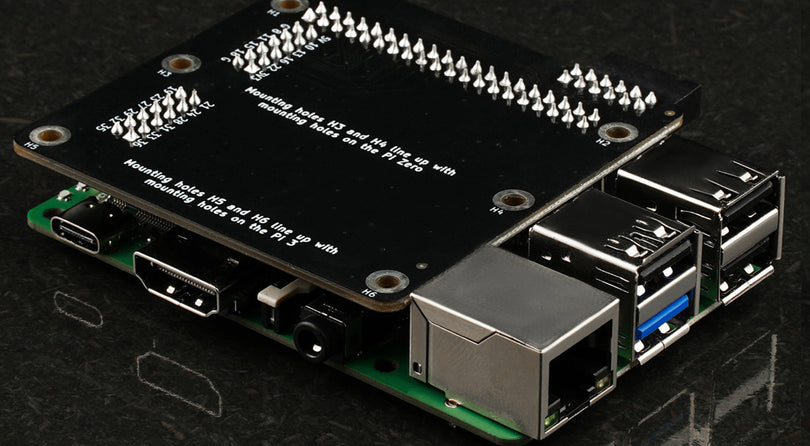
For this tutorial we have connected a Raspberry Pi 5 to the BEVRLink Raspberry Pi 5 8 Channel Relay 12V. With this relay module board you need the BEVRLink Power Supply 12V 2A.
This guide works for BEVRLink Raspberry Pi 5 4 Channel Relay, just omit the relay 5-8 and the status LED from the code. With this relay module you can either power the Raspberry Pi directly or back feed it from a connected BEVRLink relay module through the Expansion Connector.
Optional for a safe setup we recommend to use case for both the manager and relay boards: BEVRLink Cases
Introduction
Are you ready to take your smart home setup to the next level? With the BEVRLink 4/8-Channel Relay Hat for Raspberry Pi and Home Assistant, you can control multiple devices from a single, powerful hub. In this guide, we’ll walk you through the steps to get started, including pinout details, necessary software, and setup instructions.
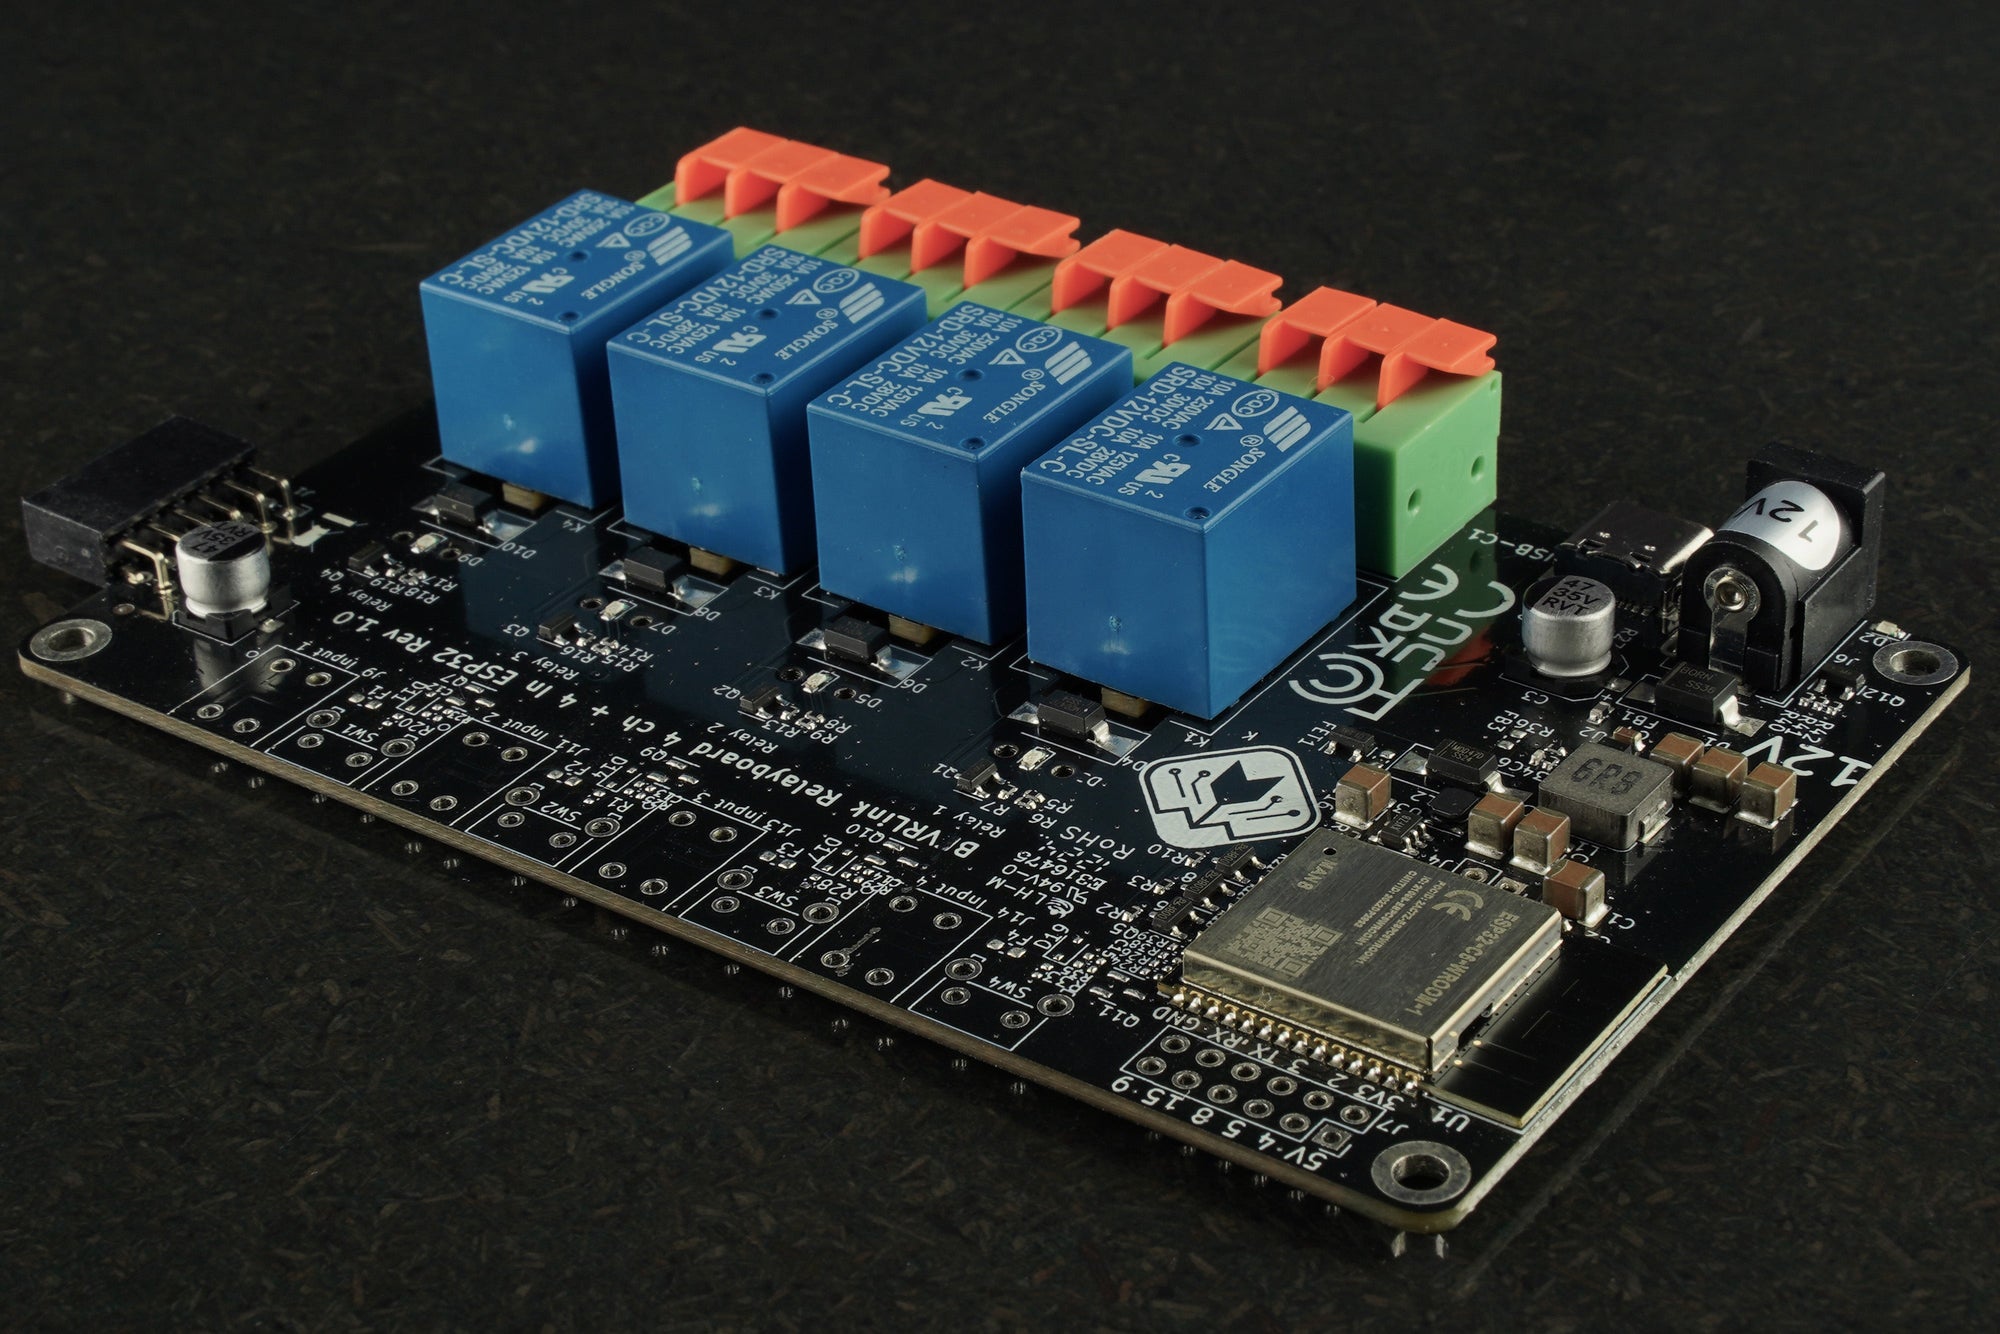
This is not a recommended way to use relays with Home Assistant, but provided here as an example of the possibilities. Recommeded way would be to seperate the HUB from the relays by using for example the ESP32 relay module together with ESPHome.
What You’ll Need
- Raspberry Pi 5
- BEVRLink 4/8-Channel Relay HAT
- MicroSD Card (8GB or larger)
- Power Supply
- Standard Raspberry Pi OS
Pinout
| Relay Channel | RPI Pin Number | BCM Pin | Description |
|---|---|---|---|
| Channel 1 | 29 | 5 | 4 & 8 ch HAT |
| Channel 2 | 31 | 6 | 4 & 8 ch HAT |
| Channel 3 | 33 | 13 | 4 & 8 ch HAT |
| Channel 4 | 36 | 16 | 4 & 8 ch HAT |
| Channel 5 | 35 | 19 | 8 ch HAT |
| Channel 6 | 38 | 20 | 8 ch HAT |
| Channel 7 | 40 | 21 | 8 ch HAT |
| Channel 8 | 37 | 26 | 8 ch HAT |
| Status LED | 32 | 12 | Status LED |
Step 1: Set Up Raspberry Pi OS
- Download Raspberry Pi OS: Visit the Raspberry Pi website and download the latest version of Raspberry Pi OS.
- Flash the OS: Use Raspberry Pi Imager to flash the OS onto your microSD card.
- Boot Up: Insert the microSD card into your Raspberry Pi and power it up. Follow the on-screen instructions to complete the setup.
Step 2: Connect the BEVRLink Relay Hat
Attach the BEVRLink 4/8-Channel Relay Hat to your Raspberry Pi’s GPIO pins.
Step 3: Install Home Assistant
- Open Terminal: Open the terminal on your Raspberry Pi or connect to it via SSH.
-
Update and Install Dependencies:
sudo apt-get update sudo apt-get upgrade -y sudo apt-get install -y python3 python3-venv python3-pip libffi-dev libssl-dev autoconf build-essential -
Create Home Assistant User:
sudo useradd -rm homeassistant -G dialout,gpio,i2c sudo mkdir /srv/homeassistant sudo chown homeassistant:homeassistant /srv/homeassistant sudo -u homeassistant -H -s -
Create and Activate Virtual Environment:
cd /srv/homeassistant python3 -m venv . source bin/activate -
Install Home Assistant:
pip install wheel pip install homeassistant -
Run Home Assistant:
hass
Step 4: Install HACS (Home Assistant Community Store)
HACS allows you to install and manage custom integrations.
- Open Terminal on the Raspberry Pi or connect via SSH.
-
Run the following command to download and install HACS:
wget -q -O - https://get.hacs.xyz | bash -
Configuring HACS:
- Open Home Assistant in your web browser.
- Navigate to Settings > Devices & Services > Integrations.
- Click on the + ADD INTEGRATION button.
- Search for HACS and follow the on-screen instructions to complete the setup.
Step 5: Install GPIO Integration via HACS
-
Add the GPIO Integration:
- In the Home Assistant web interface, go to HACS > Integrations.
- Click on Explore & Add Repositories.
- Search for
rpi_gpioand install it.
Step 6: Install and Configure rpi-lgpio
-
Install rpi-lgpio:
pip install rpi-lgpio -
Prevent Overwriting rpi-lgpio:
- Start Home Assistant with the following command to prevent
rpi-lgpio(rpi 5) from being overwritten by rpi.gpio(rpi 4 and earlier):hass --skip-pip
- Start Home Assistant with the following command to prevent
Step 7: Configure GPIO in Home Assistant
-
Edit Configuration File:
- Open the
configuration.yamlfile in Home Assistant. - Add the following configuration to define the GPIO pins:
switch:
  - platform: rpi_gpio
    ports:
      5: Relay Channel 1
      6: Relay Channel 2
      13: Relay Channel 3
      16: Relay Channel 4
      19: Relay Channel 5
      20: Relay Channel 6
      21: Relay Channel 7
      26: Relay Channel 8
- Open the
- Restart Home Assistant: Restart Home Assistant to apply the new configuration.
Step 8: Control Your Devices
Once Home Assistant is up and running with the new configuration, you can start adding devices and automations to control them via the relay hat. You’ll be able to switch devices on and off through the Home Assistant interface or using voice commands if you integrate with a voice assistant like Google Home or Amazon Alexa.
Conclusion
With the BEVRLink 4/8-Channel Relay Hat and Home Assistant, your Raspberry Pi becomes a powerful hub for home automation. Follow this guide to get started and enjoy the convenience of controlling multiple devices seamlessly. Happy automating!
For any questions or additional support, feel free to reach out to us.

