
The example below is only one way how to set up the Relay Module
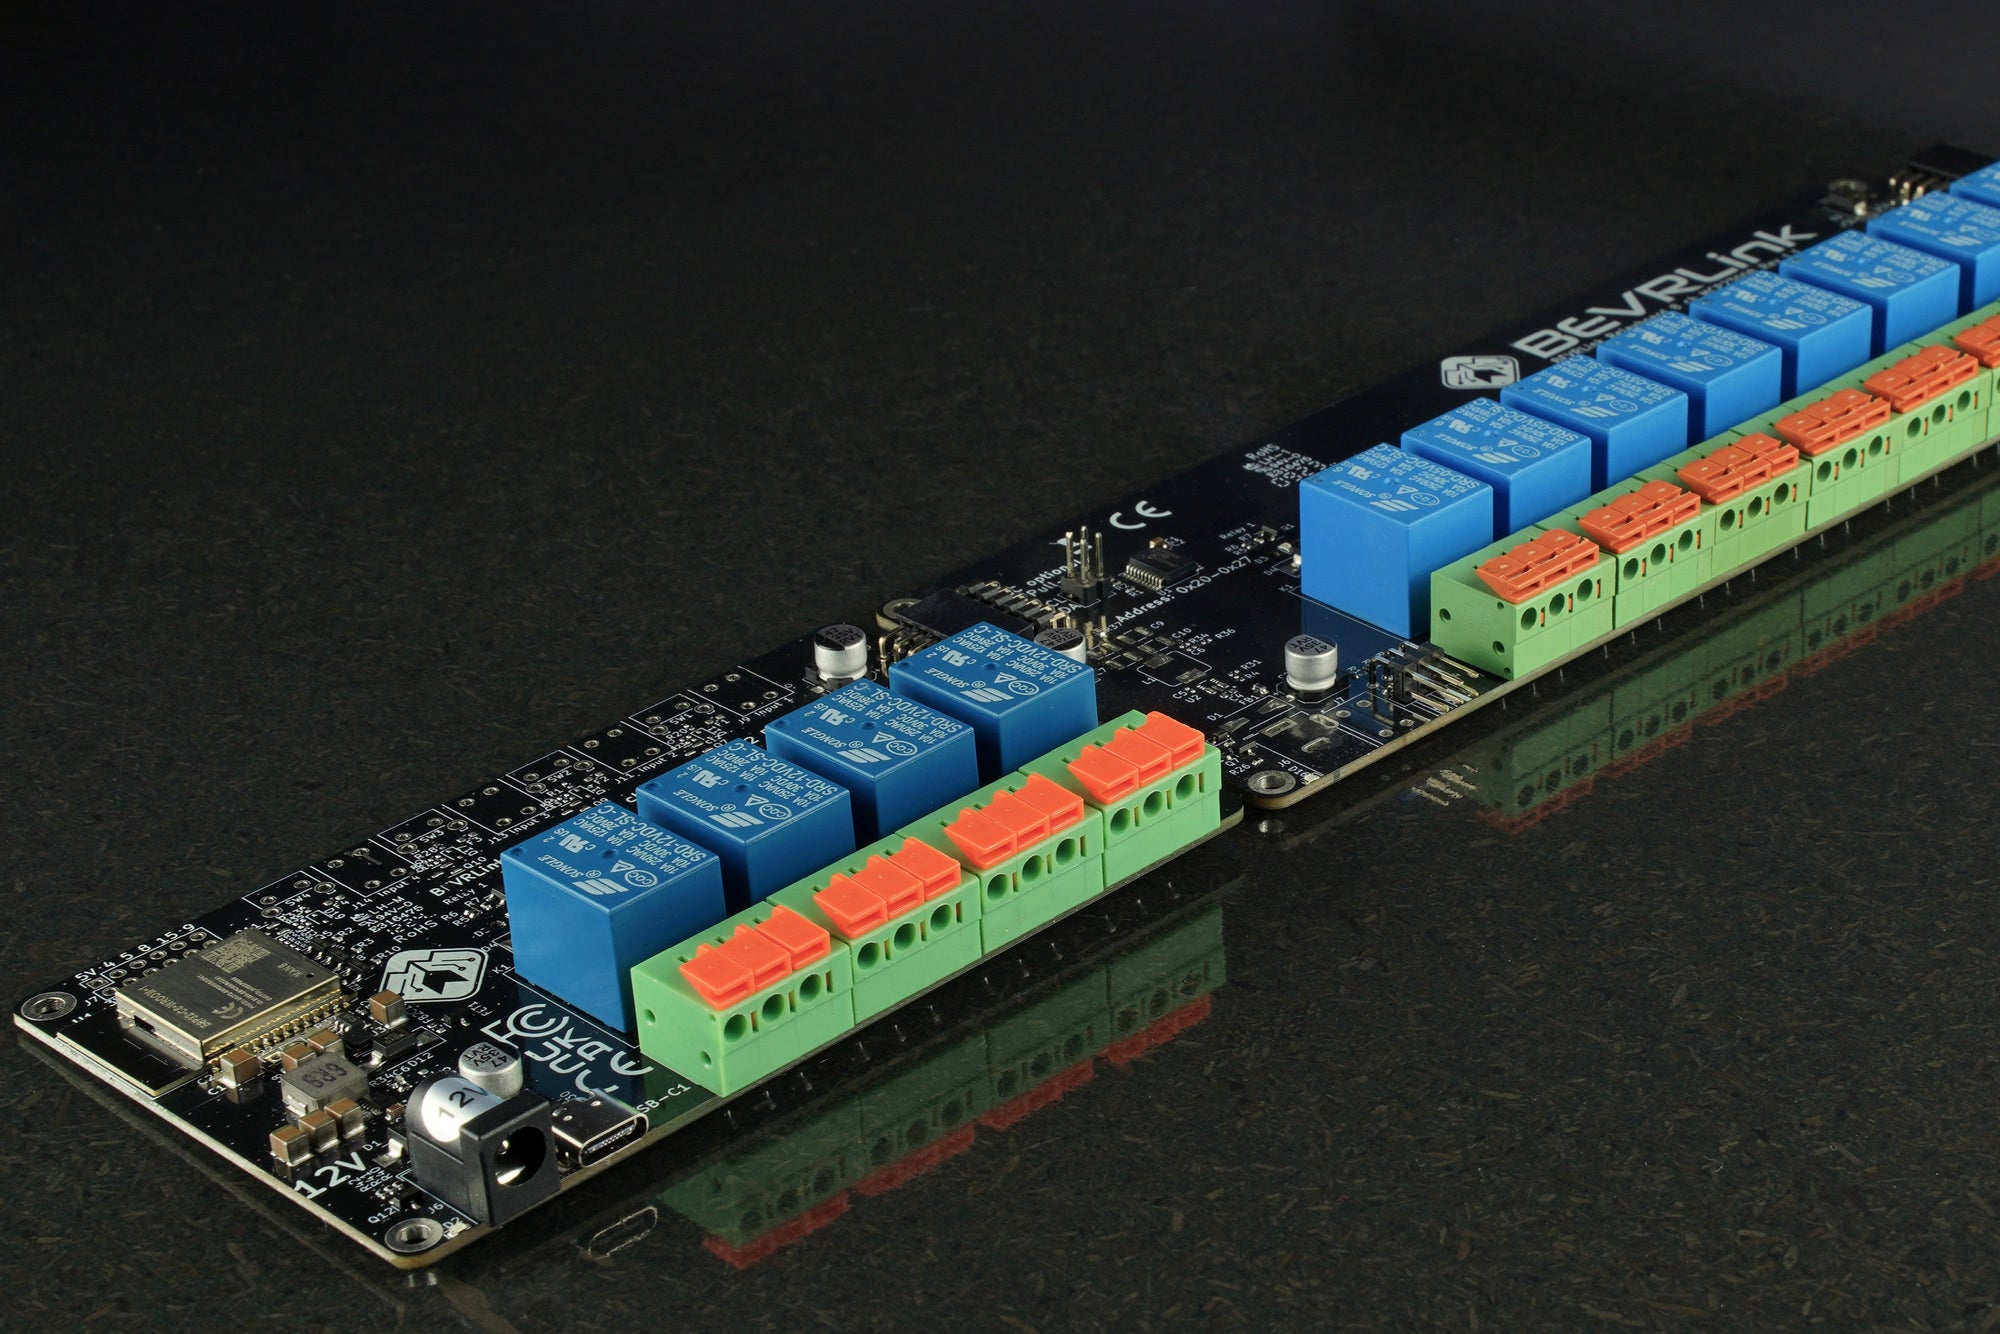
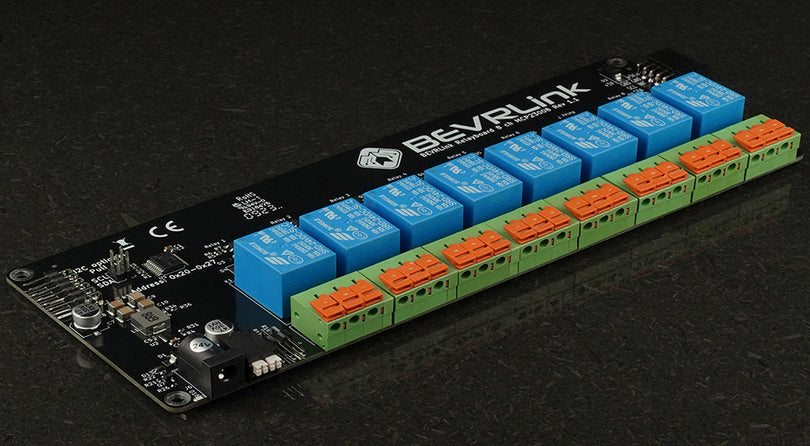
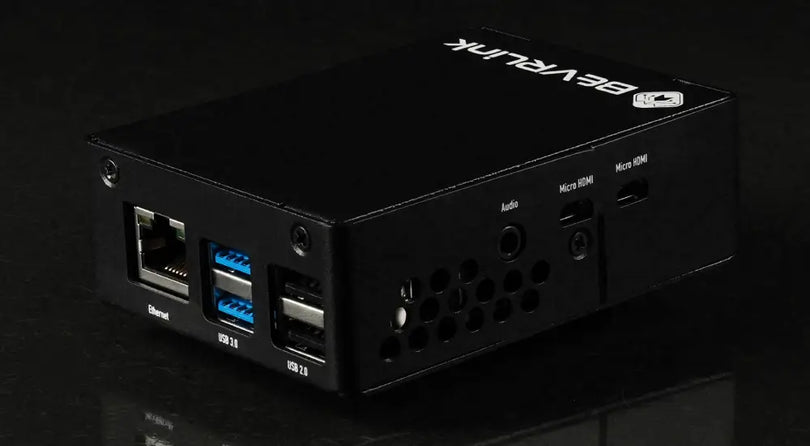
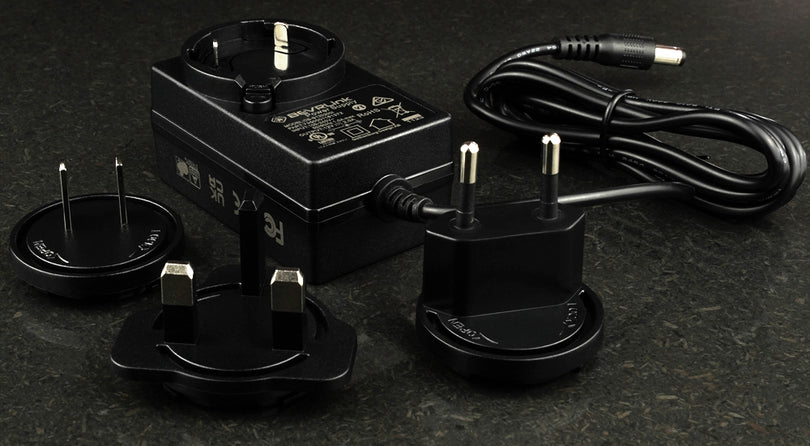
The BEVRLink Relay 4 with inbuilt ESP32 12V use the ESP32-C6 module with WiFi, Bluetooth and Zigbee/Matter support. Here we will give examples how you can control the relays with Zigbee, this code can later be added to your wireless control. With this relay module board you need the BEVRLink Power Supply 12V 2A.
Optional for a safe setup we recommend to use case for both the manager and relay boards: BEVRLink Cases
Set up ESP32 support in Arduino
⚠ Early versions of this board has an issue with the USB reconnecting every second. This is due to early firmware bug, this is fixed by download newer code to the board. Please follow this guide and the re-connection should be gone.
- Download latest Arduino IDE
- Add ESP32 3.0 to Arduino board manager database
- File->Preference
- To the textbox "Additional boards manager URLs" add:
https://espressif.github.io/arduino-esp32/package_esp32_index.json- Press OK
- Tools->Board->Board Manager
- Search for ESP32, you might get many results, select the one from Espressif System and change the version 3.0.0-alpha3 or newer in the drop down menu. 3.0 adds support for the ESP32-C6 module.
- Press install
- Coffee break while it installs
- Tools->Board->esp32 and select the board you are using(ESP32C6 Dev Module)
Pinout

Code
#ifndef ZIGBEE_MODE_ED
#error "Zigbee end device mode is not selected in Tools->Zigbee mode"
#endif

#include "ZigbeeCore.h"
#include "ep/ZigbeeLight.h"

#define LED_PIN_1            10
#define LED_PIN_2            11
#define LED_PIN_3            22
#define LED_PIN_4            23

#define ZIGBEE_LIGHT_ENDPOINT_1 11
#define ZIGBEE_LIGHT_ENDPOINT_2 12
#define ZIGBEE_LIGHT_ENDPOINT_3 13
#define ZIGBEE_LIGHT_ENDPOINT_4 14

ZigbeeLight zbLight1 = ZigbeeLight(ZIGBEE_LIGHT_ENDPOINT_1);
ZigbeeLight zbLight2 = ZigbeeLight(ZIGBEE_LIGHT_ENDPOINT_2);
ZigbeeLight zbLight3 = ZigbeeLight(ZIGBEE_LIGHT_ENDPOINT_3);
ZigbeeLight zbLight4 = ZigbeeLight(ZIGBEE_LIGHT_ENDPOINT_4);

/********************* LED functions **************************/
void setLED1(bool value) {
  digitalWrite(LED_PIN_1, value);
}

void setLED2(bool value) {
  digitalWrite(LED_PIN_2, value);
}

void setLED3(bool value) {
  digitalWrite(LED_PIN_3, value);
}

void setLED4(bool value) {
  digitalWrite(LED_PIN_4, value);
}

/********************* Arduino functions **************************/
void setup() {
  // Init LEDs and turn them OFF
  pinMode(LED_PIN_1, OUTPUT);
  pinMode(LED_PIN_2, OUTPUT);
  pinMode(LED_PIN_3, OUTPUT);
  pinMode(LED_PIN_4, OUTPUT);
  digitalWrite(LED_PIN_1, LOW);
  digitalWrite(LED_PIN_2, LOW);
  digitalWrite(LED_PIN_3, LOW);
  digitalWrite(LED_PIN_4, LOW);

  //Optional: set Zigbee device name and model
  zbLight1.setManufacturerAndModel("Espressif", "ZBLightBulb1");
  zbLight2.setManufacturerAndModel("Espressif", "ZBLightBulb2");
  zbLight3.setManufacturerAndModel("Espressif", "ZBLightBulb3");
  zbLight4.setManufacturerAndModel("Espressif", "ZBLightBulb4");

  // Set callback function for light change
  zbLight1.onLightChange(setLED1);
  zbLight2.onLightChange(setLED2);
  zbLight3.onLightChange(setLED3);
  zbLight4.onLightChange(setLED4);

  //Add endpoints to Zigbee Core
  log_d("Adding ZigbeeLight endpoints to Zigbee Core");
  Zigbee.addEndpoint(&zbLight1);
  Zigbee.addEndpoint(&zbLight2);
  Zigbee.addEndpoint(&zbLight3);
  Zigbee.addEndpoint(&zbLight4);

  // When all EPs are registered, start Zigbee. By default acts as ZIGBEE_END_DEVICE
  log_d("Calling Zigbee.begin()");
  Zigbee.begin();
}

void loop() {
  delay(100);
}