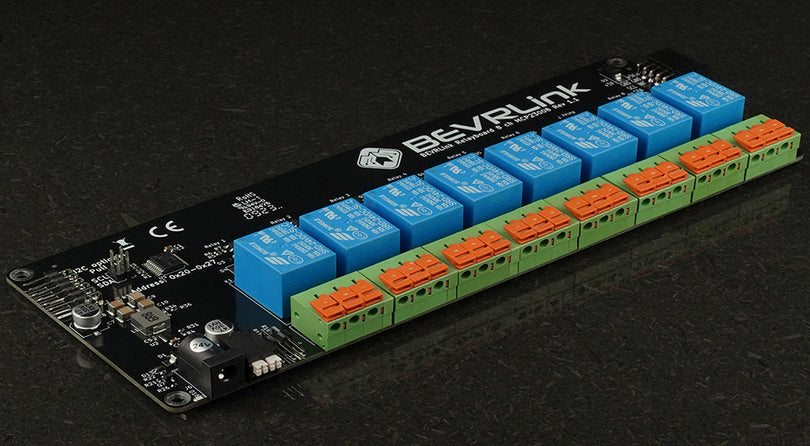

The example below is only one way how to set up the Relay Module.
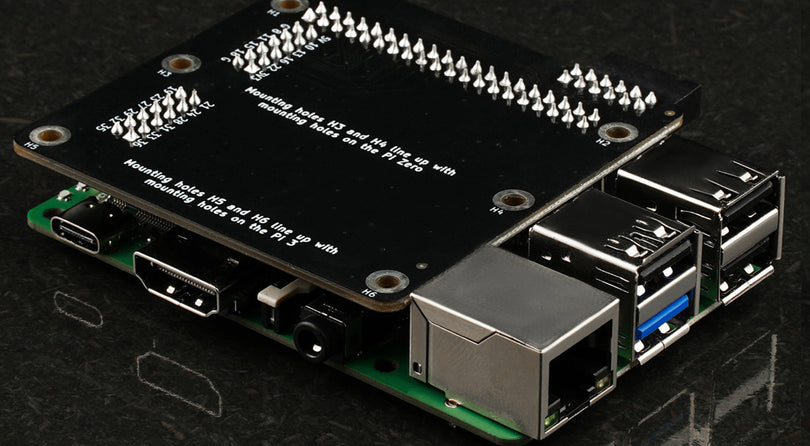
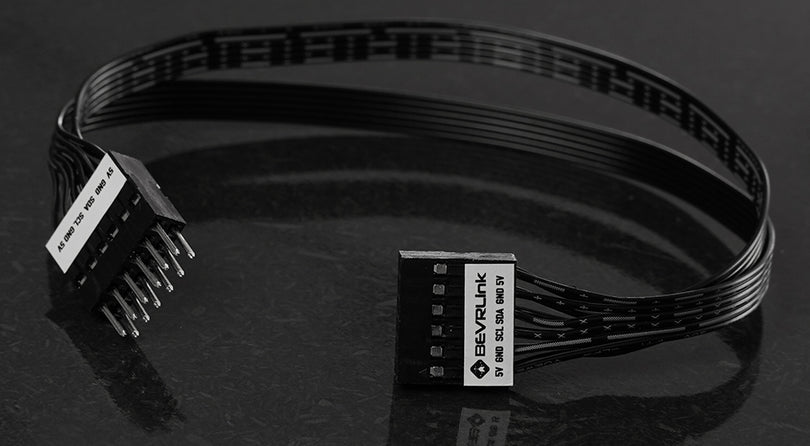
In this examples we have connected a ESP32 to the BEVRLink Manager ESP32 V2 with BEVRLink 4 Channel Relay and 4 manual test buttons 12V. With this relay module board you need the BEVRLink Power Supply 12V 2A.
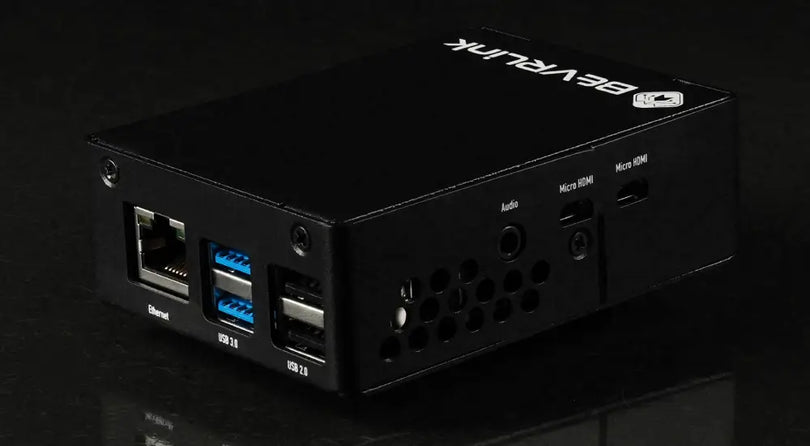
Optional for a safe setup we recommend to use case for both the manager and relay boards: BEVRLink Cases
Set up ESP32 support in Arduino
- Download latest Arduino IDE
- Tools->Board->Board Manager
- Search for ESP32
- Press install
- Tools->Board->ESP32 Arduino and select the board you are using
Code
#include <Wire.h>

void setup() {
  // put your setup code here, to run once:
  Wire.begin(21, 22);

  // Set 4 first on address 0x38 as output and the 4 other to inputs, copy this to add another relay
  Wire.beginTransmission(0x38);
  Wire.write(0x03); // Register
  Wire.write(0xF0); // GPIO
  Wire.endTransmission();
}
byte input = 0;
void loop() {
  // Read input
  Wire.beginTransmission(0X38);
  Wire.write(0X00); // set register for read
  Wire.endTransmission(false); // Send the restart condition

  Wire.requestFrom(0X38, 1); // Perform read request from slave address 0X38 and read 1 byte from the register that it is pointed at (0X00)
  byte input = Wire.read(); // Read the byte that was received

  // Write to output
  Wire.beginTransmission(0x38);
  Wire.write(0x01); // Register
  Wire.write(~(input >> 4)); // GPIO, send the input status to the relays
  Wire.endTransmission();

  delay(500);
}
- Connect your board to the USB port of your PC
- Press Upload to compile and upload you code