
Optional for a safe setup we recommend to use case for both the manager and relay boards: BEVRLink Cases

Prerequisites
Before we dive into the exciting world of home automation, let's make sure you have everything you need:
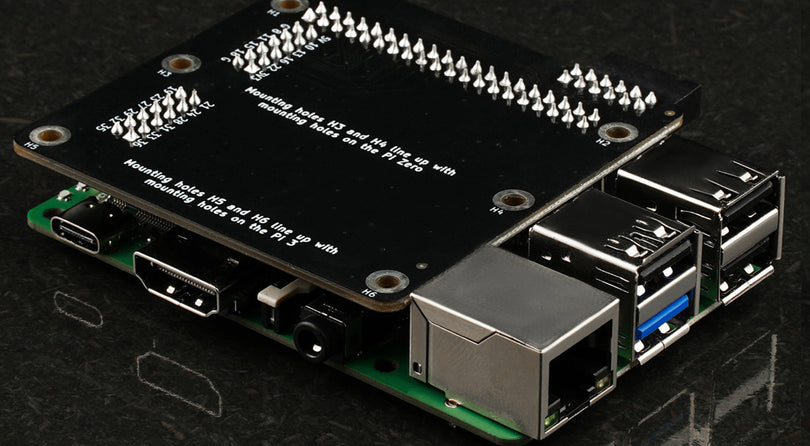
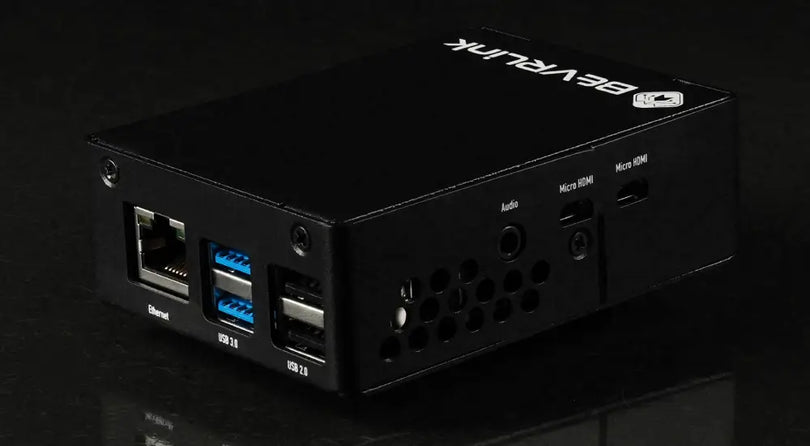
- Rock Pi (with compatible OS installed)
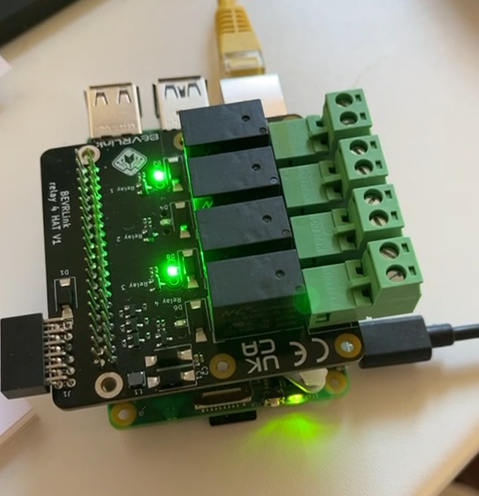
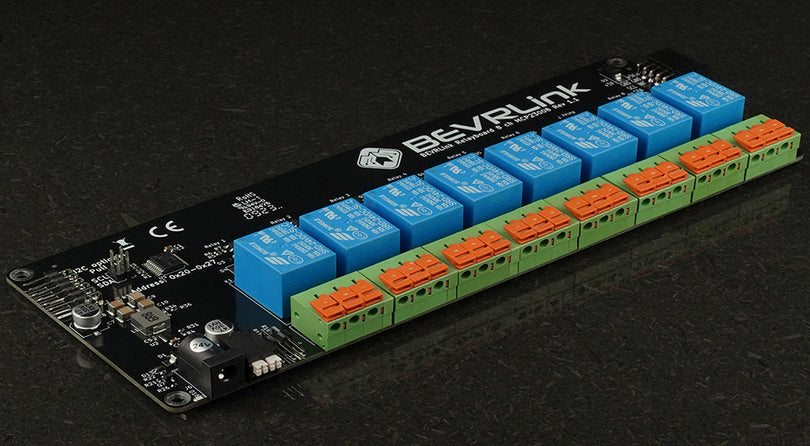
- BEVRLink Relay boards
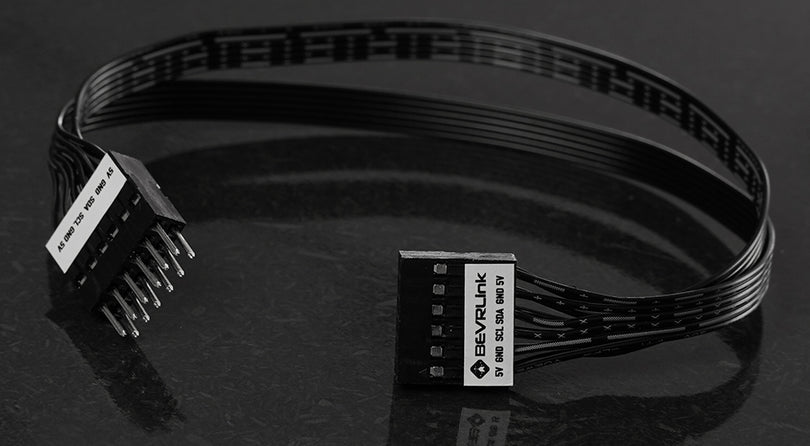
- Address jumpers
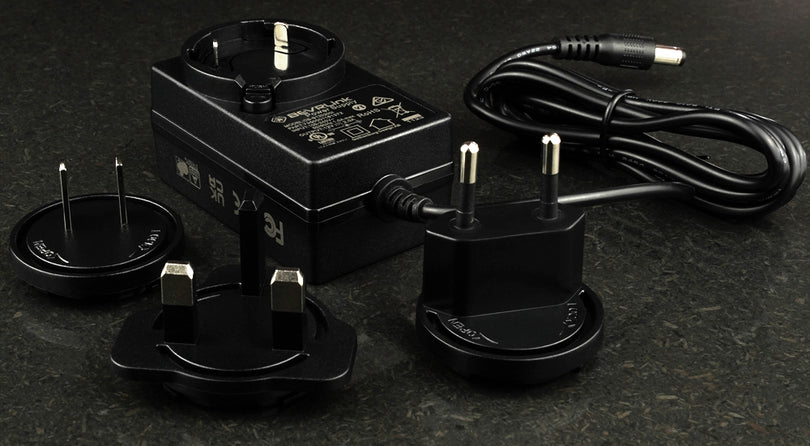
- BEVRLink Power supply
- Example code <-Download
Step 1: Setting Up Rock Pi
Let's begin by setting up your Rock Pi. This will serve as the heart of your home automation system. Follow these steps:
- Install a compatible operating system (e.g., Ubuntu) on your Rock Pi.
- Follow this example to install and enable Python and I2C
- https://bevrlink.com/blogs/control-options/get-started-with-bevrlink-8-channel-relay-rock-pi-manager-python
- Connect to your Wi-Fi network or Ethernet to enable remote access.
- Enable SSH for secure remote communication.
- Note down your Rock Pi's IP address.
Step 2: Wiring Relay Boards
Now, let's connect the relay boards to your Rock Pi. The relays will act as switches to control your IoT devices. Here's how to do it:
- Beginning with addressing each relay board
- Assemble the boards and manager board together
- Connect the loads to be controlled
- Connect the power supply to the relay board.
- Access the Rock over SSH
Step 3: Preparing the Python Script

Time to add some intelligence to your setup! We'll prepare a Python script to control the relay boards.
- Unzip the webcontrol code from the URL link in the beginning
- Install bottle.py
sudo pip install bottle - Run the script with
sudo python3 webcontrol.py - Navigate to the URL shown in the terminal to control your relays
Disclaimer: This demonstration is for educational purposes only.
The code is developed with the help from chatGPT and is a
work in progress and might contain bugs. Feel free to use
the code for your own projects as is without warranties.
Always follow proper safety guidelines when working with
electronics and electrical components.
API Reference
For advanced users and developers, here's an API reference to interact with your home automation system programmatically:
GET http://{host_name}:8080/control_relay/<address>/<channel:int>/<state>
-
Description: Controls an I2C relay channel by setting its state (on/off).
-
URL Format:
http://{host_name}:8080/control_relay/<address>/<channel:int>/<state>
-
Parameters:
-
address(string or int): The I2C address of the relay expander (e.g., "0x20" or 32). -
channel(int): The channel number to control (e.g., 1, 2, 3). -
state(string): The desired state for the channel ("on" or "off").
-
-
Response:
-
200 OKwith a message indicating the new state of the channel.
-
-
Example Request:
-
GET http://{host_name}:8080/control_relay/0x20/1/on -
Example Response:
-
Set channel 1 on relay expander at address 32 to state on
This updated API reference provides the URL format http://{host_name}:8080 for the control_relay function, allowing users to understand how to control relay channels through the web interface using the appropriate URL structure.
GET http://{host_name}:8080/list_relays
-
Description: Lists available I2C relay expanders and their configuration.
-
URL Format:
http://{host_name}:8080/list_relays
-
Parameters:
- None.
-
Response:
-
200 OKwith a JSON object containing relay information.
-
-
Example Request:
-
GET http://{host_name}:8080/list_relays
-
Example Response:
-
{
  "relays": [
    {
      "address": 32,
      "status": "configured",
      "channels": [
        {
          "channel": 1,
          "status": "off"
        },
        {
          "channel": 2,
          "status": "on"
        }
      ]
    },
    {
      "address": 48,
      "status": "configured",
      "channels": [
        {
          "channel": 1,
          "status": "on"
        },
        {
          "channel": 2,
          "status": "off"
        }
      ]
    }
  ]
}
This API reference provides the URL format http://{host_name}:8080 for the list_relays function, allowing users to retrieve information about available I2C relay expanders and their channel configuration through the web interface.